Views: 3 Author: Site Editor Publish Time: 2020-07-09 Origin: Site
1) Sample: Watch ring material, base is aluminum, surface is electro-dye coating
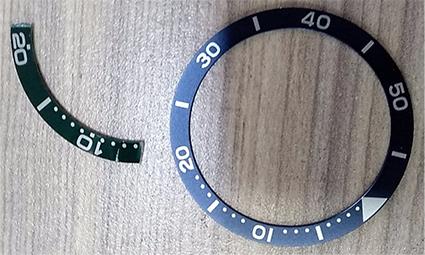
2) Requirements: Test the hardness value of the surface coating
3) Test equipment and environment
Due to the thin thickness of the coating, a micro Vickers hardness tester is generally used for testing. This test uses the digital display micro-hardness tester DV-1AT-8P from Ebipro. Before the test, the machine tested the standard hardness block 636HV1, and the average value of the five tests was 633HV1, which proved that the accuracy of the machine was within the allowable error range of the national standard and can be tested normally. Laboratory test temperature: 25℃, humidity 40%
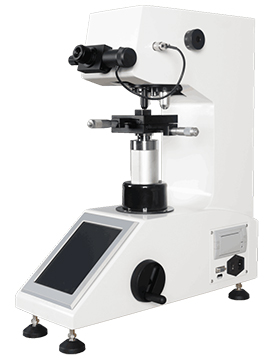
Micro Hardness Tester DV-1AT-8P
4) Preparation before testing
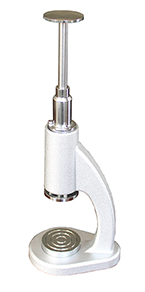
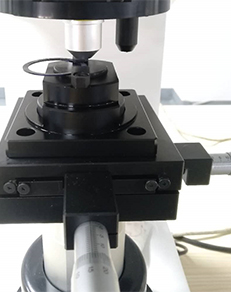
The entire surface of the material is not flat enough. If it is directly placed on the workbench, it is difficult to achieve a void-free coupling. If there is a gap between the material and the workbench, the test results will be inaccurate and the reference value of the test will be lost. This type of material can be used for simple sample preparation: flattening with a flattener, then fixing with a sheet clamp, and then placing it on the workbench for testing.

5) Test data
The coating material of the small sample is too thin and too soft, and the indentation is blurred after the test and the hardness test cannot be carried out.
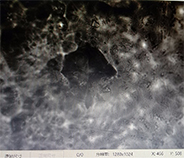

After the ring sample is tested, a clearer indentation picture can be obtained, and Vickers hardness test can be performed
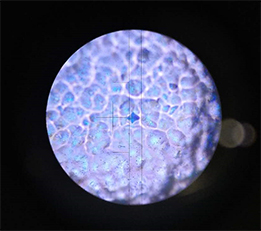
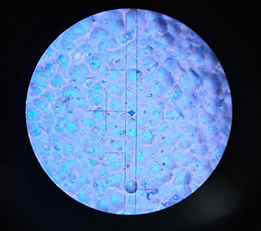
machine type | Testing frequency | Test force | Dwell time | D1 | D2 | HV hardness value |
DV-1AT-8P | 1 | 100gf | 5 seconds | 28.1 | 30.59 | 215 |
2 | 100gf | 5 seconds | 26.11 | 30.09 | 235 | |
3 | 100gf | 5 seconds | 28.6 | 31.08 | 208 | |
4 | 200gf | 5 seconds | 52.65 | 55.13 | 128 | |
5 | 200gf | 5 seconds | 51.9 | 54.14 | 132 | |
6 | 200gf | 5 seconds | 55.38 | 53.14 | 126 | |
7 | 300gf | 5 seconds | 79.13 | 78.13 | 90 | |
8 | 300gf | 5 seconds | 73.37 | 78.63 | 96 | |
9 | 300gf | 5 seconds | 75.37 | 75.12 | 98 |
6) Data analysis:
After testing, the test force from 100-300gf indentation is clear, and hardness can be measured; when the test force is less than 100gf or greater than 300gf, the indentation is not clear and cannot be measured.
7) Summary
The micro hardness tester DV-1AT-8P has HV and HK test scales. The standard configuration is equipped with HV diamond indenter. The machine has a hardness conversion scale. The test results can be directly converted to Rockwell, Brinell and other hardness values. The hardness test of metal coating materials can choose our company's micro hardness tester to test.