Views: 0 Author: Site Editor Publish Time: 2022-09-28 Origin: Site


When measuring, please select indenter and main test force according to the following table.
Scale | Indenter | Total Test Force N(kgf) | Symbols Measuring Range |
B | Φ1.5888mm steel ball | 980.7(100) | HRB 20-100 |
C | 120° diamond | 1471(150) | HRC 20-70 |
A | 120° diamond | 588.4(60) | HRA 20-88 |
Scale C: It is used for measuring the hardness of heat treated steel parts.
Scale B: It is used for measuring softer or middle hard metals and unquenched steel parts.
Operation steps:

1. Install the correct indenter according to which test you want to do.
2. Make clean the work table surface and sample surface. Put sample on the work table or anvil.
3. Rotate handwheel to rise up the working table slowly, indenter touch with sample surface still continuous rise up the working tale until the small pointer points at the red mark and the big pointer turns 3 circles).(It is allowed to have a error of ±5 graduations. If it exceeds 5 graduations, this point should be invalid and do a new test again.)

4. Rotate the outer shell of the indicator to get the long carved line between C and B align with the big pointer (It is ok to rotate clockwise or anticlockwise).
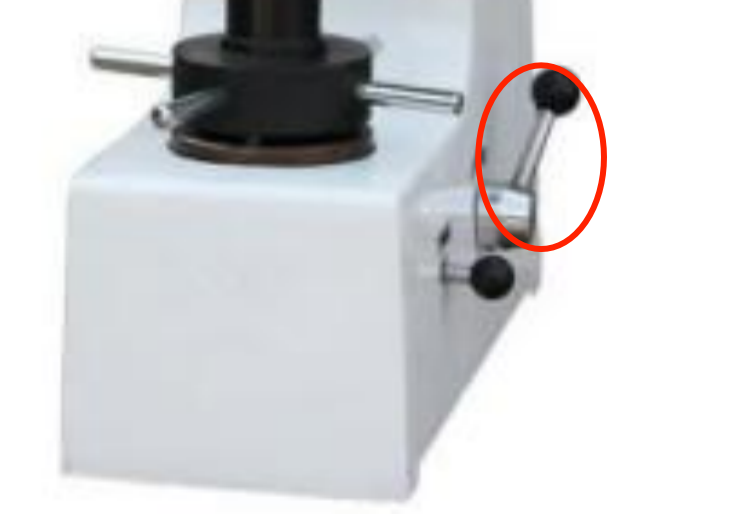
5. Pull handle to apply main test force, at this time the big pointer of the indicator rotates anticlockwise.

%1. When the indicator pointer stops clearly, push back the releasing handle to release the main test force. Please take care that the applying and releasing of the main test force should carry on slowly.

7. Corresponding readings in the indicator. When testing with diamond indenter, please read off the black figures outside the panel circle while testing with steel ball indenter read off the red figures inside the panel circle.
8. Rotate the handwheel to get down the test sample and then move it to start a new point testing.
PS: The screw protective jacket aims to protect the screw from dust invasion. When the tester is not in use or the height of the test sample is less than 80mm, the jacket should be placed outside the screw. If the best sample is higher than 80mm, it must be taken off to avoid the anvil being supported up and the test being invalid.